Wednesday, December 9, 2015

Blessings of the season

Isaiah 9:6 For to us a child is born, to us a son is given; and the government shall be upon his shoulder, and his name shall be called Wonderful Counselor, Mighty God, Everlasting Father, Prince of Peace.
This is the One who we celebrate this season. His coming changed the world and its people forever. A simple faith in the Son of God as your personal Savior can change you and your world. He wants to come into your life and have an ongoing relationship with you so that you can have the life abundant and life eternal with Him. Celebrate the Prince of Peace!

Since I seem to have taken almost half a year off from blogging, it really is time to catch up once again. This is a busy time of year but you can always bookmark this issue and then come back after all the festivities have past, relax with a cuppa and sort through some card ideas.


This stamp set is from Close to My Heart, Typed Note and includes the typewriter and some messages. The punch at the edge is from stampin up but think it is retired.


This cute bear is made using die cuts and punches. It can be found on Pinterest.


 This simple card has an embossed background using Mosaic Madness embossing folder from Stampin Up and two different spellbinder dies. The one with the white paper was cut partially to give it a tag like effect.
The feathers on this card are from a feather stamp set from Close to My Heart and I just cut them out. The burlap is from a paper pad and the edging is an edge punch from Martha Stewart.

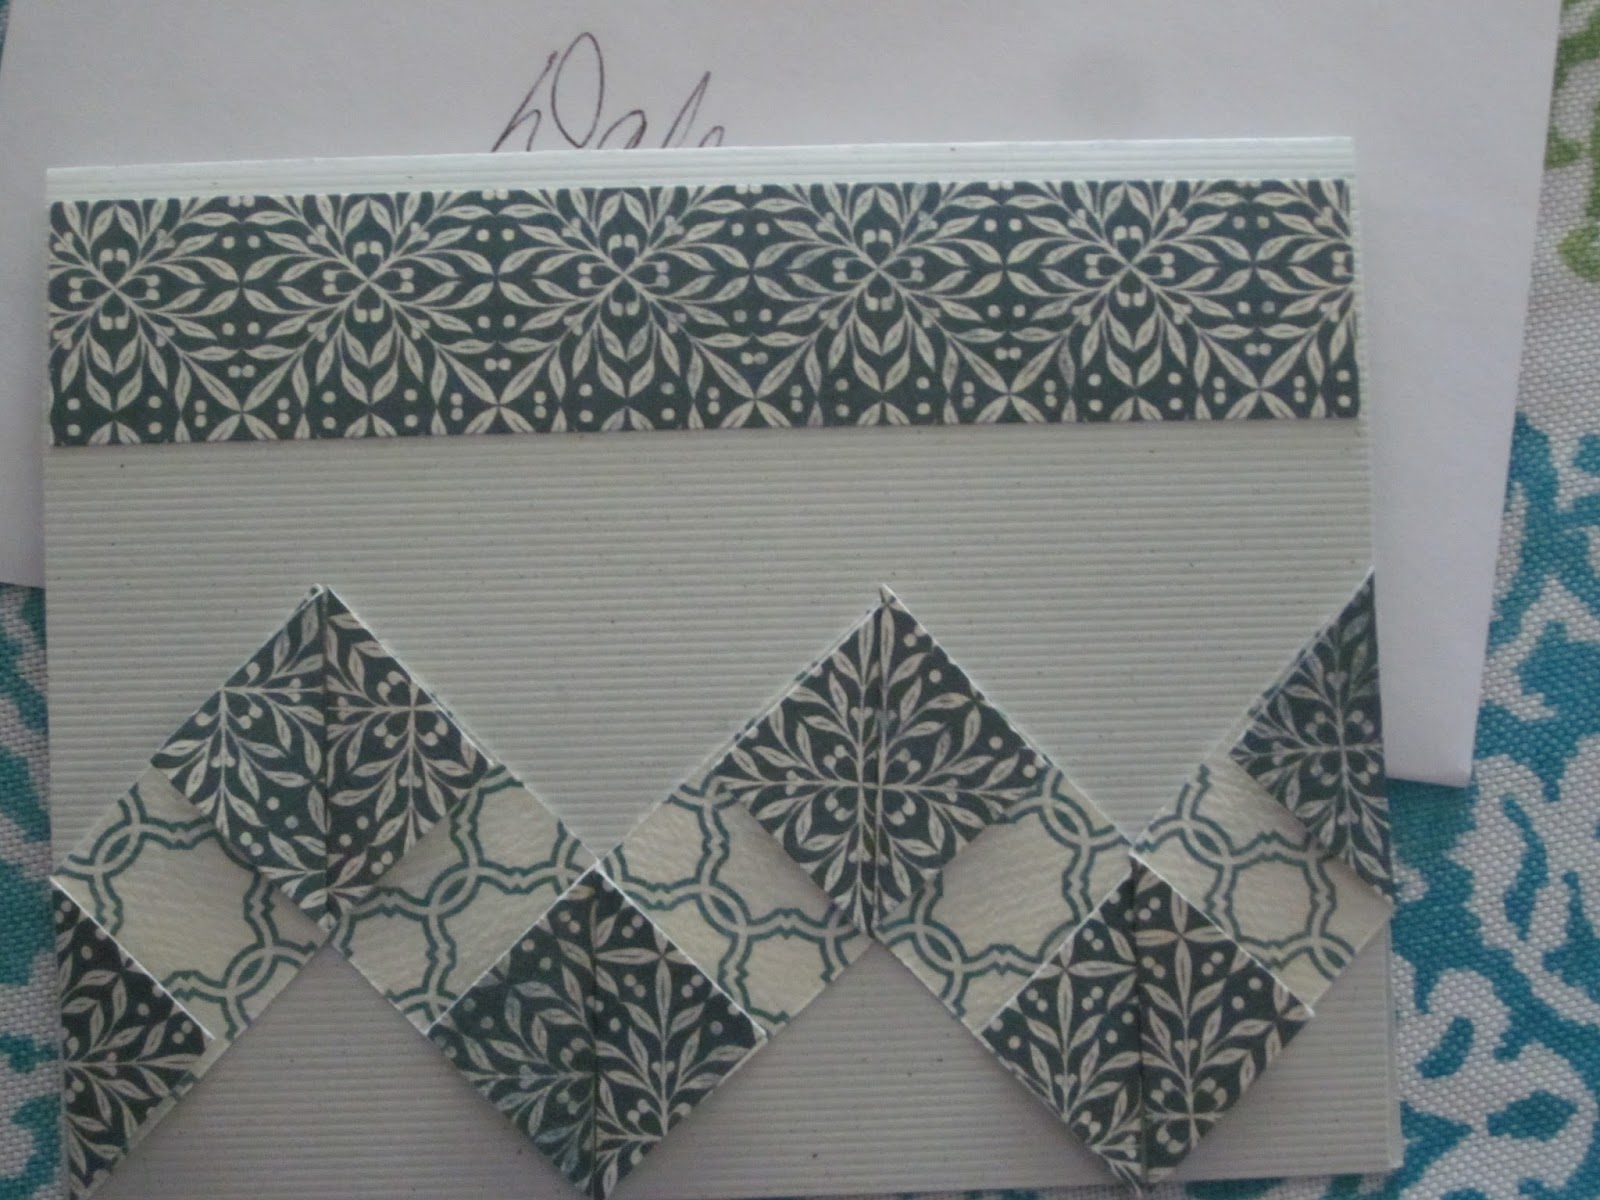
Once again I used the We Are Memory Keepers Envelope Punch and made this card using double sided paper. The medalion on the front is made with a Martha Stewart punch as is the edging at the bottom.

 The die cut here is from SU's Butterfly Basics set. Don't know the embossing folder used. I think the designer paper is also SU. I made this at a friend's house so don't know the sources.

This is another embossed card but it had been stamped on first. The hearts are sparkly paper die cuts.
This was a fun way to use die cuts. Just split one die cut into two and add embellishments. The heart was a die cut also and then put through an embossing folder.

 The embossing folder used for this card is Elegant Lines from SU. Some designer paper was glued down first onto the card base. The Blossom punch was used on the right side to allow the paper to show through. Additional die cuts/punches were used to decorate.
A variety of punches were used to make the flower and then die cut hearts. The edge is made with a Martha Stewart punch.
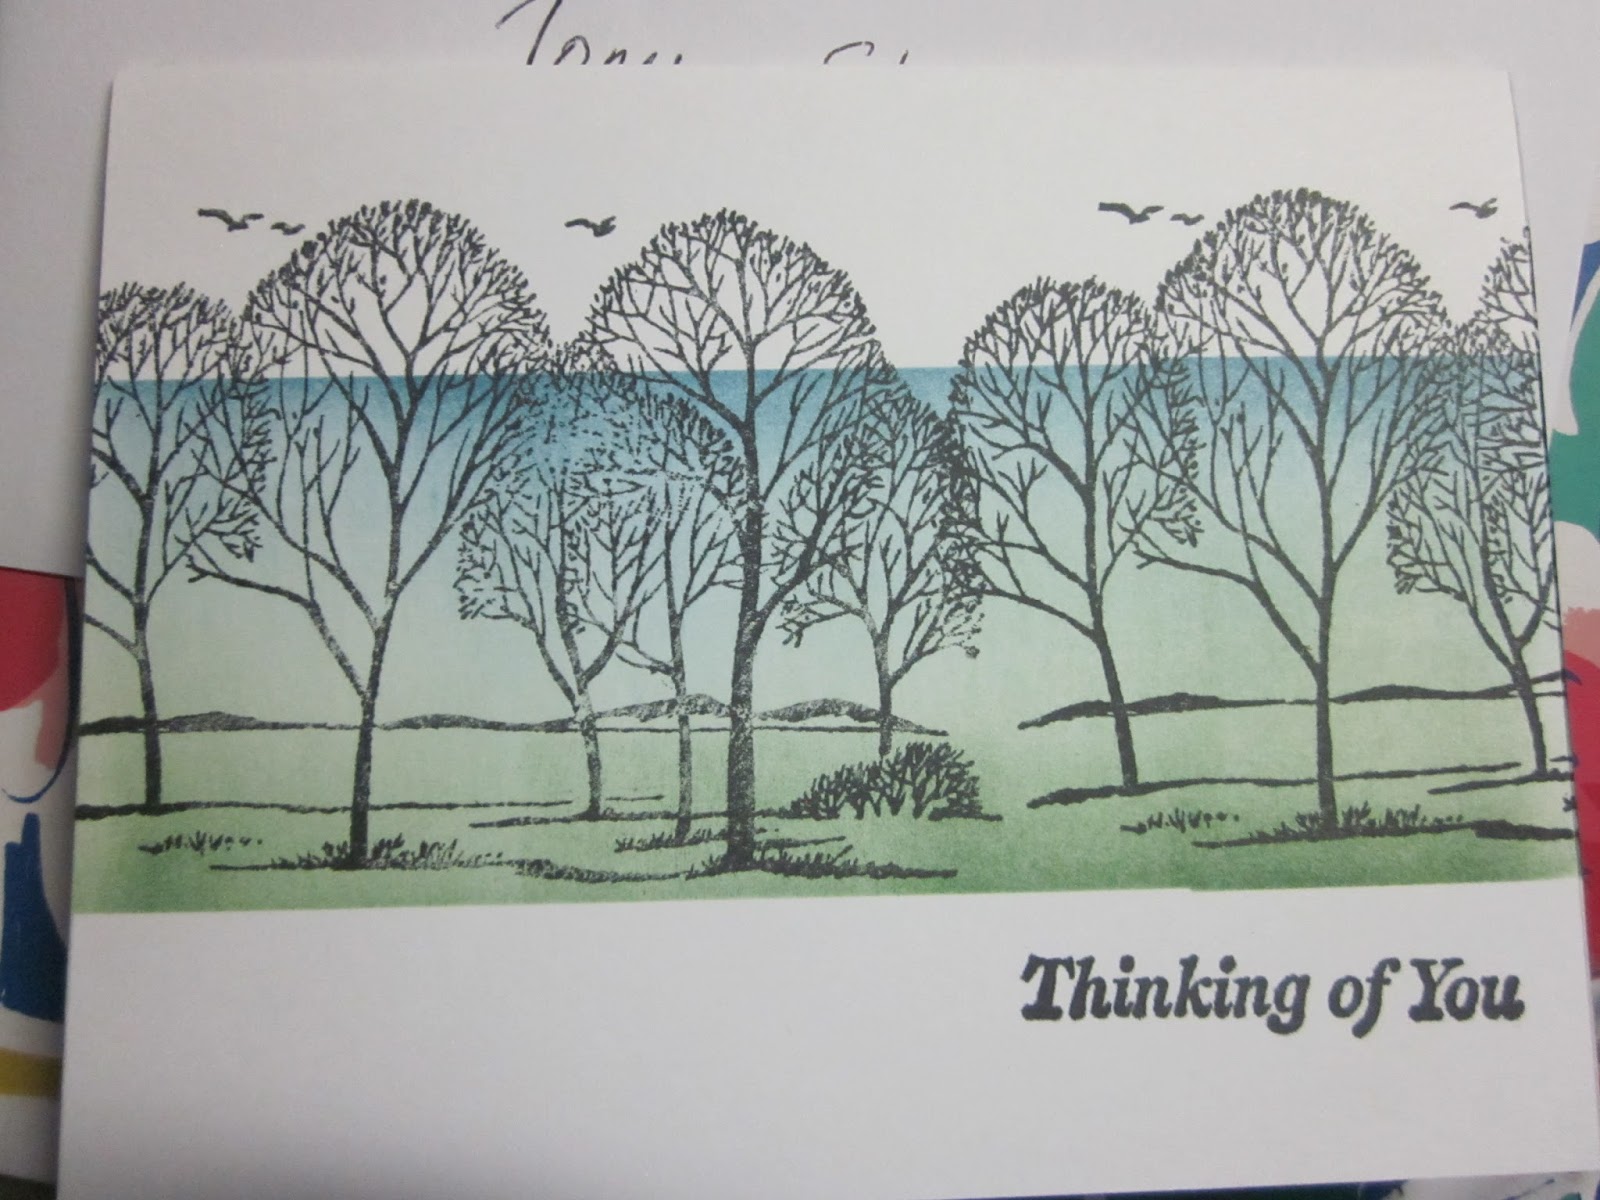
Masking is the technique used here. Mask off a strip in the middle of the card and sponge on desired inks. Remove masking, ink up stamp and stamp images. 

This cute bird was made using SU's Bird punch. Just punch out in various color card stocks.


This card was made using SU's Butterfly Basics stamp set. The die cut is one that goes with that stamp set.

Stay tuned for Part 2


Thursday, July 30, 2015

Oops I found the "lost" blog.

 It was a case of mistaken identity. The blog was supposedly lost. But look again and you will see the sign in information was where it went wrong. It helps to use the correct information to get where you want on the internet. So note to self: be sure to check information to make sure it is correct for what I want to do. Nuff said on that subject. Hence, there has been a huge delay to update this blog. Really is was a bit of that mistake on my part and a bit of just plain procrastination.

There have been quite a few cards made so have a lot to share.
  The first card is a fun one to give to kids as it is so colorful. Different sized and colored circles are glue to a background and then texturized with an embossing folder. A banner was added for a little more interest.

 This card combines a pre printed panel with other easily created elements. Lilac and tan panels are layered under a scallop circle w/ a white circle and the sentiment stamped on. A Stampin Up Pansy punch and Petite Petals punch create the flower. A strip of burlap and ribbon finish it off.


 This card has an interesting opening. I used Spellbinders labels in 4 different sizes. The card base is in the shape of the largest die. The front has layers of the various sizes. The technique to making this card is from Dawn Griffith's blog: dawnsstampingthoughts.net. I just used a different set of dies but the technique is the same. the Mr. and Mrs. card can be found on her blog.

Catching up...

Greetings bloggers. Since I have figured out why I couldn't access my blog, I can now update like it should be. Don't know about where you are, but our summer here arrived early and it meant real heat business. We had 2 1/2 wks. of 100+ weather. About a  week of cooler temps. arrived and now back up to hi 90's and into the 100's again. But the alternative (a foot of snow) is no good either. Never satisfied eh?

Psalm 62:8- Trust in him at all times, O people; pour out your hearts to him, for God is our refuge. "Selah"   No matter what is happening to us or around us, God is the only constant. Our lives go with the ebb and flow of life. People come and go in our life. Situations change. We are ever in flux. But God is faithful at every corner of our life. He alone is trustworthy. Praise Him!

Now to do some catching up on some cards that have gone out from my craft table.


The card below is a basic card using some texturizing, stamping and punching. The stamp is from the SU Flower Shop set and used the Pansy punch. I think the embossing folder was Floral Fantasy.

  A trend going around now is the exchange of pocket letters. You make 9 ATC - sized cards and decorate them. Insert into the sleeve protector used for sport cards. Treats of the edible and/or crafting variety are inserted behind in the pockets as desired. A backing paper is placed clear at the back.In one of the pockets is to be placed a letter from the sender about themself.  Embellishments such as ribbons, fibers, charms,etc. can be attached to the page. Other goodies can be included in the package if desired, but the idea is to be able to mail in a #10 envelope. 


Both these cards went to my son's house as he had a birthday (the golf one) and he and his wife had their first wedding anniversary in June.The idea is off Pinterest from tammyb.blogspot.com. The anniversary card used a technique new to me. My friend got a Minc machine. It came with some pre printed images so I used the congratulations one and ran it thru the machine using the gold foil. I know it doesn't show up very well but it is shiny gold color. For the base of the card I die cut a heart using Spellbinders heart die and inlaid it into a similar aperture cut in  the card base. Then the card was embossed using the SU Elegant Lines embossing folder. I also applied some pretty holographic glitter for accent.


I hope you have enjoyed getting caught up with me and hope there might be a layout or idea you can use in your future (or current) projects.
Blessings to all.
God is good, all the time.
MEg :)


Wednesday, July 29, 2015

Oops I found the lost blog.

It was a case of mistaken identity. I could not gain access to my blog. It kept telling me there was no blog in that account. Who was I to know that it was the wrong account and who was I to know that there was more than one? Long story short, I figured out that I used the wrong information sign in and hence was not going to my ongoing blog. Got it all sorted and so finally got here.

Have had  quite a time trying to put up some pictures for you all to see. I had it almost all done and then like the proverbial "glitch" it just went poof. So this will have to be all for now. Will try again later with pictures.