Saturday, January 24, 2015

Happy New Year

Hi Bloggers,
Greetings for a new year and may you have many blessings in this year. We have been busy since I last posted which is waaaaay too long ago. Sorry about that. The holidays included Thanksgiving with 2 of our daughters and Christmas and new year's with daughter #1 & #2 in Colorado. We were gifted with a white Christmas followed by several days of minus temperatures. But we all had an enjoyable time.

Psalm 24:1-5
The earth is the LORD's, and everything in it, the world, and all who live in it; 2 for he founded it upon the seas and established it upon the waters. 3 Who may ascend the hill of the LORD? Who may stand in his holy place? 4 He who has clean hands and a pure heart, who does not lift up his soul to an idol or swear by what is false. 5 He will receive blessing from the LORD and vindication from God his Savior.
It is so reassuring to know that the Lord has His hand on the world that we live in, the world He created and sustains. Whatever comes our way in this new year, know that the Lord, He is God and worthy of all our worship and praise. Do so with a clean heart and thanksgiving to God.

Now on to the crafting section. In November I taught a card class at our local scrapbook store for Christmas cards. Below you will see the samples.
The blue one is a large star cut with a die and textured. The small star is also die cut with a few stamped stars on the background. A greeting is layered with blue and silver ribbon under.
The "music" one has a die cut poinsetta using Poppy dies and punched out leaves. It doesn't show up very well in the picture, but the flower has a delicate punched out top which makes it look lacy. The music is scrapbooking paper under the front of the cut out card front.
On the bottom is a twist card using double sided card stock. A medallion was made from 2 punched out circles stamped with a greeting layered on a ribbon. This card can be used for a gift card or money holder for giving.


These 2 cards were made at a friend's house. The left lavendar one has a lattice style edge on the left made by using a template and making cuts and then folding the points. The middle is die cut with the greeting put on a smaller die cut inside.  The other card is showing the use of washi tape and sequins to embellish.
These 2 were used for birthday cards. The top one with the heart started out by gluing strips of paper to a square of card stock then a heart was punched out. The heart was saved to adhere later. Under the cut out is another piece of card stock that had been textured with a script embossing folder and put through a cuttlebug. The cut out heart is then glued partly onto the square which is glued onto the stamped background of the front of the card. A bit of foam tape is put under the overhanging part of the card. A greeting is stamped.
The pink doll tag is using a stamp from Julie Nutting who has a whole series of doll stamps. (I won the doll stamp in a drawing on one of the online scrapbook shows that I watch.) The doll was stamped then the parts were stamped on different papers for the 2 sections of her dress. I glued lace at the hem. The tag was textured with a swirl embossing folder with different papers glued on. I cut out the rose from a decorative paper and at the bottom right is a smaller tag with the birthday greeting stamped on. The edging on the left is from an edge punch from Martha Stewart. A shiny heart and sheer ribbon was added to finish.

Here is a card I used for a sympathy card. The white strip was textured using a damask embossing folder. The large black and white flowers are the pansy punches from Stampin Up. The small aqua flowers are from the Boho punch also from Stampin Up as is the black edge punch.

We have a few kids in our church so have to keep up on kids cards as well. This is a simple use of colored card stock that has been circle die cut and then textured in a lot of different folders. The eyes are die cut and punched.

One of the men in our church had a birthday so got out the deer paper. The head was fussy cut and applied to a die cut scallop circle with some washi tape under.

A different format was used for this square card. I wanted to try this technique of using a punch but only on part of the card so that it would remain instead of being completely punched away. Pansy punches from SU are the main flowers and Martha Stewart leaf punch. Small yellow flowers are from the Boho SU Punch. The envelope was made using the We R Memory Keepers Envelope Punch Board and some co-ordinating scrapbook paper.


At this time of year there are usually some sewing projects. I think I already posted the jammy pants  and pillow cases I made for the grandkids. They like to use flannel hankies, especially when they have a cold. So I made up a batch of them in fun prints. (The photo was oriented correctly but didn't transfer right.)
This card front was made with mirror paper and an embossing folder. The labels were die cuts in 2 different sizes with flowers added.

This was a "cheater" card as I used some decorative paper. The little "birds" on the side were done using origami folding.

I hope this finds you all well and doing good. All the best for the new year.
Keep on crafting.
Blessings,
Meg :)


Friday, October 10, 2014

The autumn leaves are falling.

Hi bloggers,
The kids are back in school, fall programs have started and plans for the various holidays are being made. Here in the Pacific Northwest we are having a bit of late summer, but predictions are for colder weather to get to us next week. In the meantime, we are enjoying the lovely days and cooler nights in the Columbia Gorge.
 
In this season of the year we are reminded of the harvest of the year and what we are thankful for.

Deuteronomy 30:16 NIV

For I command you today to love the LORD your God, to walk in his ways, and to keep his commands, decrees and laws; then you will live and increase, and the LORD your God will blessyou in the land you are entering to possess.
In this passage we are also reminded where our good harvests and blessings come from. It is our job to follow the Lord's commands as He has revealed in his Word and through teachings of His son, Jesus. Thanks the Lord for His generous blessings.
 
Since it's been a while since my last post, I have quite a few pictures to share. Grab a cuppa of a favorite brew and take a look.


 The first few pictures are of sewing projects: slippers made from old jeans and flannel pillowcases with jammy pants for my grandkids for Christmas.
 
Sorry this is upside down. The background is textured with an embossing folder, the die cut is from Stampin Up. The labels are from SU punches. The text & flowers are unknown.


My daughter bought me a pad of burlap paper and this card shows one of the cards I made with it. There is a paper backing on the burlap which makes it easy to work with and attach to paper or card stock projects. The envelope was made using the punch board.  It makes a good masculine card.
 
Here is a variation of that burlap card using stamped and embossed feathers from a set from Close to my Heart.
 
This banner project was inspired by Gwen Casteel. She showed on her ustream show a Halloween banner using large tags. I didn't have the tags or chipboard so used cereal and cracker boxes cut into tag shapes with two layers glued together. They are covered with scrapbook paper, washi tape, stickers and letters cut with a Cricut. They are tied together with ribbon or string. At the ends are colored notebook rings to hang.
 
 
These cards were made when a couple friends came over to stamp. The top left card's focal point is from some heavy decorated paper. A flower was die cut and a brad added. The Wheat one was an experiment into the world of watercolor. I used regular artist watercolor paper with distress inks. The sunbeam one on the bottom was various decorated papers. The label in the middle was made with stamp and die from Paper Trey.
 
This card was embossed using SU Elegant Lines embossing folder. The flowers are punched using SU pansy punch. The butterflies are Martha Stewart Monarch butterfly punch.
These projects are what I will be teaching next week at our local scrapbook store, Urban Paper. The two items on top are gift card holders in 2 sizes using the envelope punch board.  The card next to them is using the folded Christmas tree and there is also a gift tag. Always need tags!!
 
Hope you enjoyed having a look at my projects and might have found something to try for yourself. This is the season that keeps crafters busy.  The main thing is to have fun with your projects. Be "arty" as often as you can.
Blessings to you all,
MEg :)


Saturday, August 2, 2014

Summer travels and crafting

Hi bloggers,
As I sit in the office today, I am so thankful for air conditioning. Actually it is a bit cooler today with temps. in low 90's. Humidity seems a bit up for our area which makes it seem hotter. But we have experienced those conditions most all summer. Our family (3 daughters and families) all traveled to North Carolina to attend the wedding of our son/brother. Those of you who live or have visited the east coast know how conditions can be at the end of June. Whew!! is all I need to say!! We had a fantastic time with the family, extending on to aunt, uncle and cousins in Georgia. Pictures of the wedding can be found on my Facebook page.
As the Scriptures say, "A man leaves his father and mother and is joined to his wife,and the two are united into one."This is a great mystery, but it is an illustration of the way Christ and the church are one. So again I say, each man must love his wife as he loves himself, and the wife must respect her husband.
Ephesians 5:23
This scripture I used in my son's wedding card along with an additional greeting. At this time of celebration we stop to remember the status of a marriage blessed by God. If those two are living for God, their lives will be blessed. As the scripture also says, it reminds us of the union between Christ and those who believe in Him as their Savior and Lord.


The top card is the wedding card I made for my son's wedding. The large edge punch is a Martha Stewart; heart punch is Stampin' Up (both are textured with SU embossing folders: elegant lines and swiss dots I think); small flowers are SU Boho Blossom punch and leaves are unknown punch. The edging at top is SU scallop edge punch. The ribbon is from Joann's (a two faceted ribbon with satin on one side and sheer on other with sparkly line in between). Inside paper matches outside blue cardstock.
The second card is my son's birthday card. This was made at a friend's house so do not know the origin of the ingredients.
This is similar to a card shown earlier but made in the same way. The inside of the folded square reveals a cut and tuck die cut from Spellbinders using double sided paper.
The swing card in many versions is very popular right now. To make this card, we used a die to cut the card stock and the accent papers. There are various manufacturers that make these so you can check with your local crafting/stamp/scrapbook store or online. Another method to this technique is to use just a label or medallion die on the fold to attain the same effect. Do a search of swing cards on YouTube.

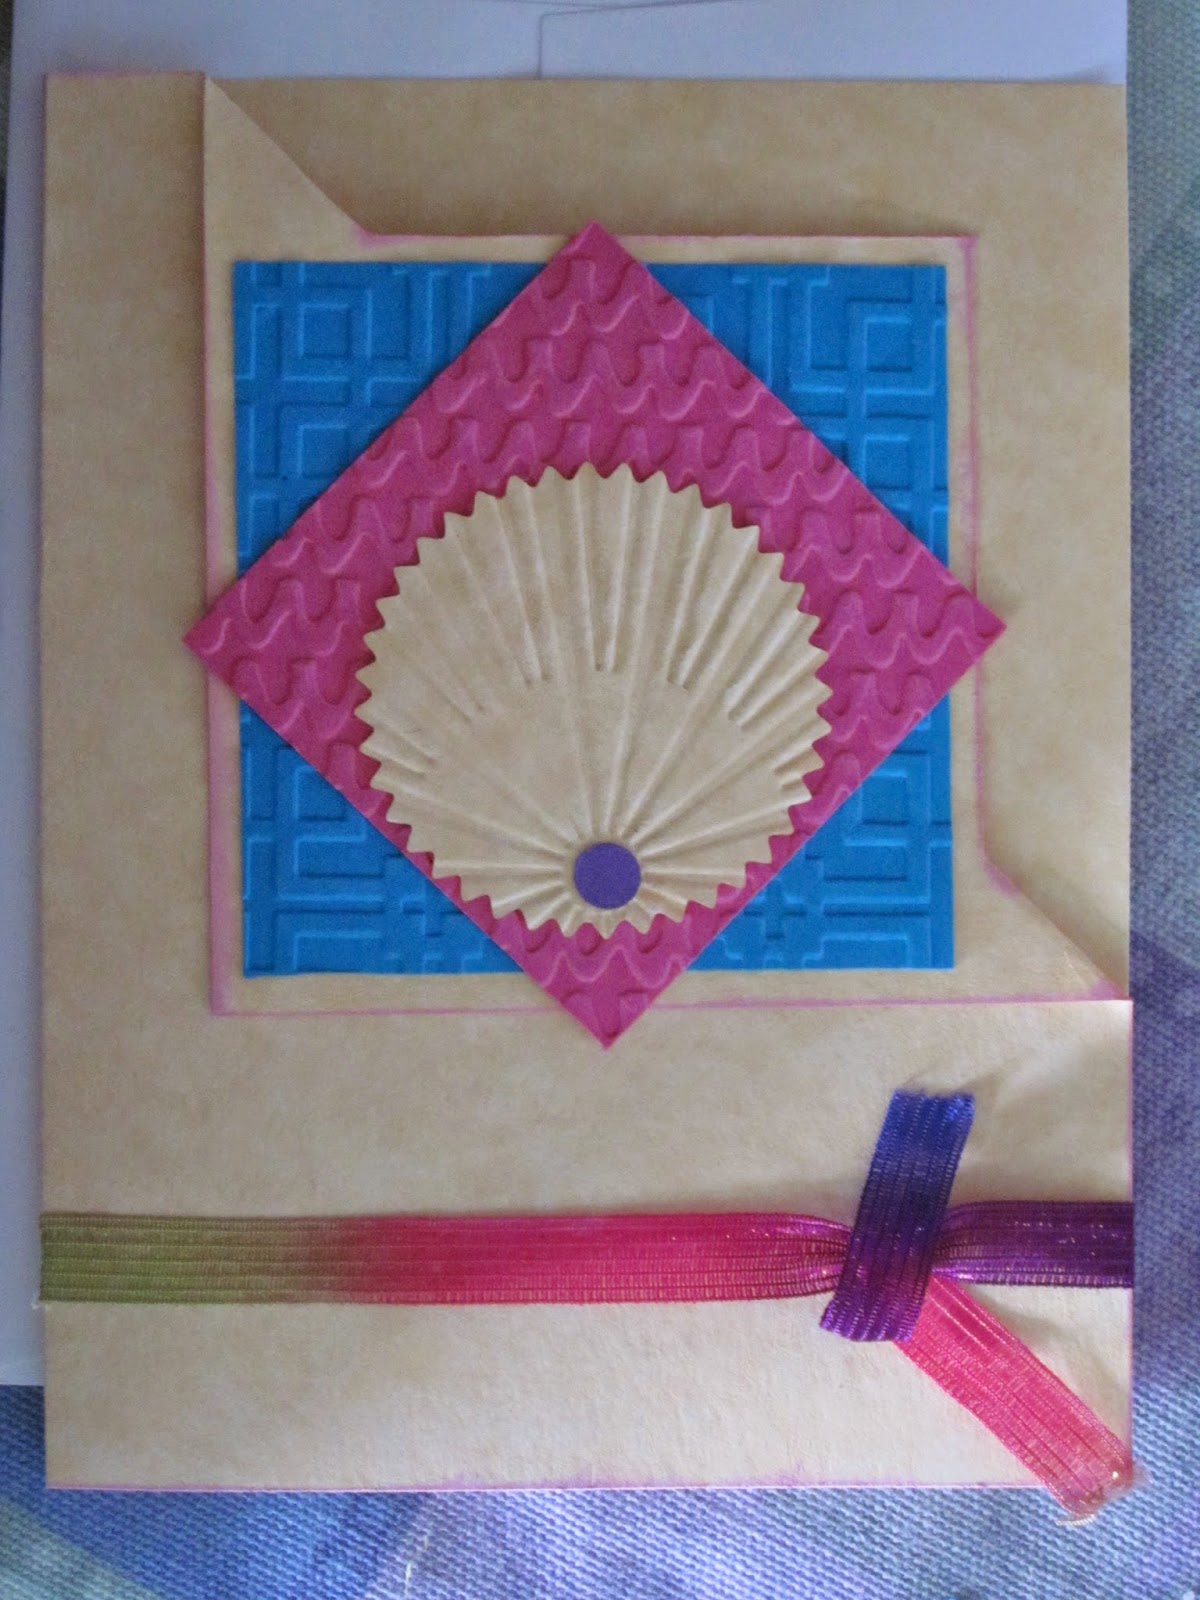
At our local stamp club one of the themes was to make a card using some kind of creative fold. I think this one is called "folded corner card."  There are just 2 cuts made using your paper trimmer and then the corner is folded inside out. Then it can be decorated as you wish. All three colored papers that I used were cut and then textured w/ embossing folders. A small circle punch was used for the center ray.
These cards are in the collection of 10-minute creative fold cards we made at our monthly stamp club. Most of them you can pretty much see how they are folded. The get well card is not necessarily creatively folded as she is new back to card making. But it is a pretty cute card.
To wander a bit from card making, sewing was also done. A couple of pictures of these bags were included in a previous post, but this gives another view. They are fun to make and think the grand kids enjoyed using them.
As you can see, this is a get well card for a friend who had surgery. The masking technique is fun and can be made using a lot of shapes of masks. Painter's masking tape was used to make the mask for this card .(Die cut negatives can also be used for a mask.) Then a single black image is stamped and sentiment & embellishments added. Check out some of the offerings on YouTube for masking.
Oops, sorry about it laying on it's side. The background stamps are from Stampin' Up. The focal point is a small piece of card stock covered with various strips of paper. You can also use washi or paper tape. I used a heart punch from SU to punch out the middle. A solid piece of card stock was cut to fit underneath and textured before adhering down. The heart was attached on the side of the original piece and suitable greeting added. This could be used for many occasions. The occasion for this one happened to be a birthday.

I hope you have enjoyed seeing what has come off my crafting table. If there is something not familiar to you here, why not try a new technique next time you sit at your craft table. There are so many things available out there! Make your own version of them.

Blessings to you and yours,
Meg


Thursday, June 12, 2014

Almost summer!

Hello bloggers,
What a lovely spring we have had here in the Columbia Gorge. Lots of wind lately, but that cools things down which is good. Flowers are in abundance and wonderful to see. The local cherries are getting ready to be harvested so a busy time around the valley. School is out for the summer so let the fun begin!

It has been too long since I have last posted so need to do some catch up. So settle in and get comfy. The first group of cards were done at a friend's house.
The green one (inspired by C. Pooler) has a front piece of white cardstock that is textured w/ a  "Diamond" embossing folder; color added using a stencil I think it is by crafter's workshop.
The purple one used a Spellbinders die for the shape; perfect plum card stock by SU; embossing folder by Cuttlebug & unknown flowers. The grass die is from Impression Obsession.
The yellow one is tangerine tango card stock, scallop edge and "Heartfelt Thanks" sentiment from Stampin UP. Flowers and leave by 7 Gypsies. Inspired by Sara Lincoln. Top view is closed and bottom view is the inside opened up.


The next few cards were sent to me by a very nice friend. If you check the trim, it is her very own tatting on one of the cards. She does such lovely work. Thank you so much L. H.

It's the time of year for graduations so I had the opportunity to make one for a relative who completed his college degree. The card is a diamond top folded card. The white card stock has been texturized with an embossing folder. Tassle was made from paper with a brad to hold it on. The bottom shows the inside where I also used an embossing folder (Cuttlebug) on the congrats and then inked it to make it show up a bit better.

This card I have had for a few months as it was one of the first file folder cards I made using the We Are Memory Keepers Envelope Punch Board. I do not know the manufacturer of the card stock. The label is from a Spellbinder set of dies.
This card was an example for the class I taught at our local scrapbook store. Sorry it is sideways. It is called the square frame card. I think I saw it on Deb Valder's video. We used double sided card stock. The strip at the bottom is made using a Martha Stewart Cherish edge punch.
This is an anniversary card. The decorated papers are from various different sources. The hearts were cut using a SU heart punch and then texturized with the dot embossing folder. They are lifted up off the card using a "Jacob's ladder" strip.
This double side step turtle card was for my neighbor who loves turtles. I got the picture off the internet; texturized the side & bottom panels, stamped a greeting panel and added turtle buttons from LaMode & JoAnn's and some unknown little shiny beads.


Now for a change in the line up to sewing. For the entertainment of my grandkids during the summer's travels I have made activity notebooks.


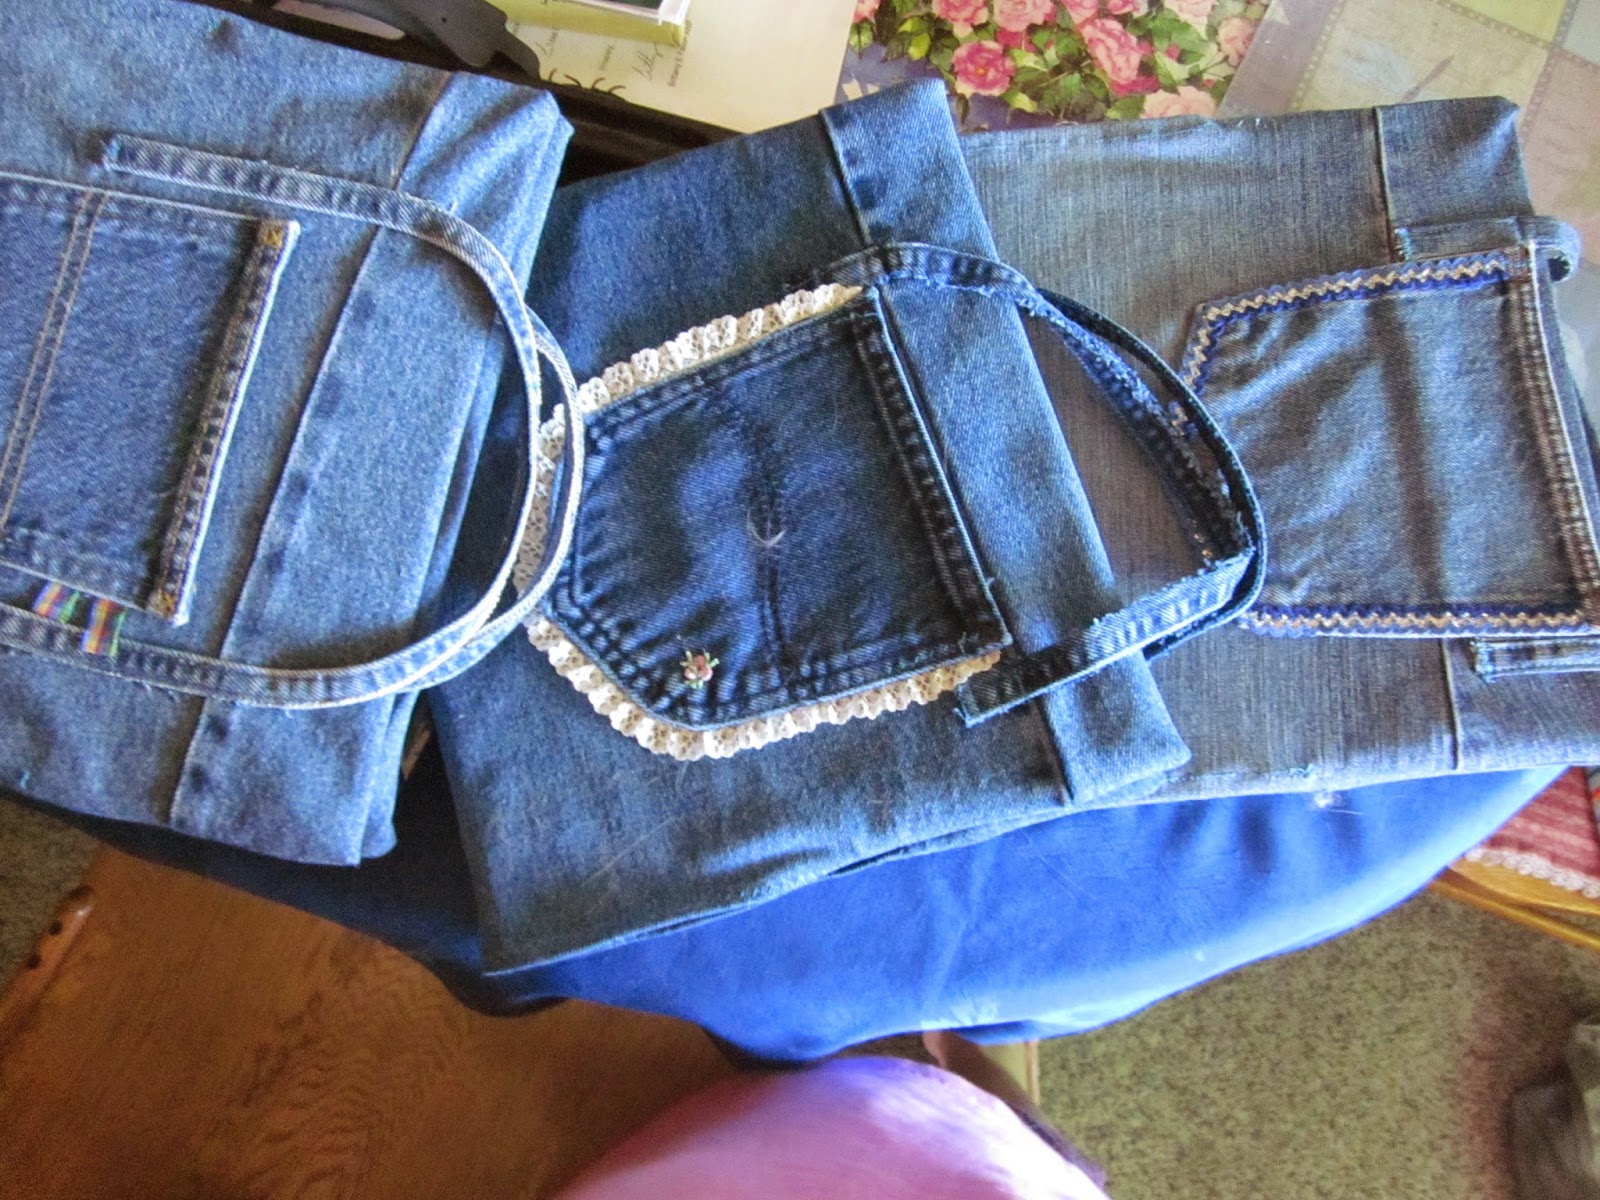
For the larger one I took a 3 ring binder and covered it w/ fabric taken from a pair of jeans. The back pocket was put onto the front making 2 pockets there to hold the flannel hankies I made. The front right pocket of the jeans was put on the left side of the inside of the cover making a couple more pockets there. Another pocket was made for the cover outside back to hold activity/ color books. Handles were made by using the long seams on the legs. The smaller one is a smaller notebook done in a similar way. Pencil pockets were added to store pencils, crayons, pens, hand sanitizer, mini frizbies, sticky note, etc. Various activity books were obtained from the dollar store. There is also a bag for mom that holds the games, etc. for that family such as a dice game,  activity/color kit, bouncy balls, balloons for rest stops sani wipes and child ID bands for safety.
The three smaller bags are "ditty" bags for toothbrush, etc. Those are for the kids. The larger one is for mom to put all those items mentioned above and maybe a few more. Hopefully you can see, they are all lined.
Here are the other 3 notebook packages. For the girls, I decorated around their front pockets for a little more "pretty." For the older one I made the handles longer for her to put over her shoulder as I had some long seams left.

I hope you enjoyed my offerings today on what I have been doing the last little while. Maybe there is a technique or idea you would like to try. Go ahead and go for it!

Ephesians 1:3 NIV

[Spiritual Blessings in Christ] Praise be to the God and Father of our Lord Jesus Christ, who has blessed us in the heavenly realms with every spiritual blessing in Christ.
I may have shared this verse with you before, but it is such a wonderful and encouraging verse, it bears repeating. We have so many blessings to be thankful for, even in the midst of challenges. God is taking care of us and is in control. He deserves all the praise & worship we can give Him. May you be blessed by my projects and the words of the scripture.

Wishing you great blessings for the summer!!
Meg

Friday, May 9, 2014

Happy Mom's Day

Hi bloggers,
Sunday is Mother's day in the U.S. Happy day to all those moms, aunts, cousins and grandmas. Hope your day is filled with lovely memories.

Matthew 12:50 NIV

"For whoever does the will of my Father in heaven is my brother and sister and mother."
This was Jesus speaking as he was talking to the people about their spiritual relationships. We are in the family of God if we believe in Jesus as our Savior. Of course a relationship with our mom is one of the most special and treasured. I hope you will honor your mom this weekend in whatever way you feel appropriate, even though she has passed on.
 
 
Cards I have made---
This first one should have been on the last post as it is my Easter card this year. I came across the punch technique on Pinterest and YouTube so wanted to try it. These punches are Martha Stewart corner & edge punch. Using text weight paper fold in half the long way and then a little ways from the top fold over again. At the intersection of all the folds, insert into the corner punch and punch. Unfold the top fold and then use the edge punch matching up with where the corner punch left off. Unfold and you have a cross!

Our small stamping group met at my house last month so I was to bring the demos. This white card is one of them. It is done w/ Stampin Up Elegant Lines embossing folder and Martha Stewart small monarch butterfly punch. At random points cut away the white card stock and put colored paper under. I chose some holographic shiny paper. Then to add some bling, I added some pink rhinestones.
Another project we did was this frame card. It shows off the double sided card stock so you can see both sides. It is basically layering papers in a contrasting way with the frame on top. To make the frame, start with a square, fold both ways once and unfold. Then fold the corners to meet in the middle and then partially back again. That's it!! Then add an embellishment in the middle. The strip arcross the bottom is done using Martha Stewart Cherish edge punch and an extra contrasting strip of card stock.
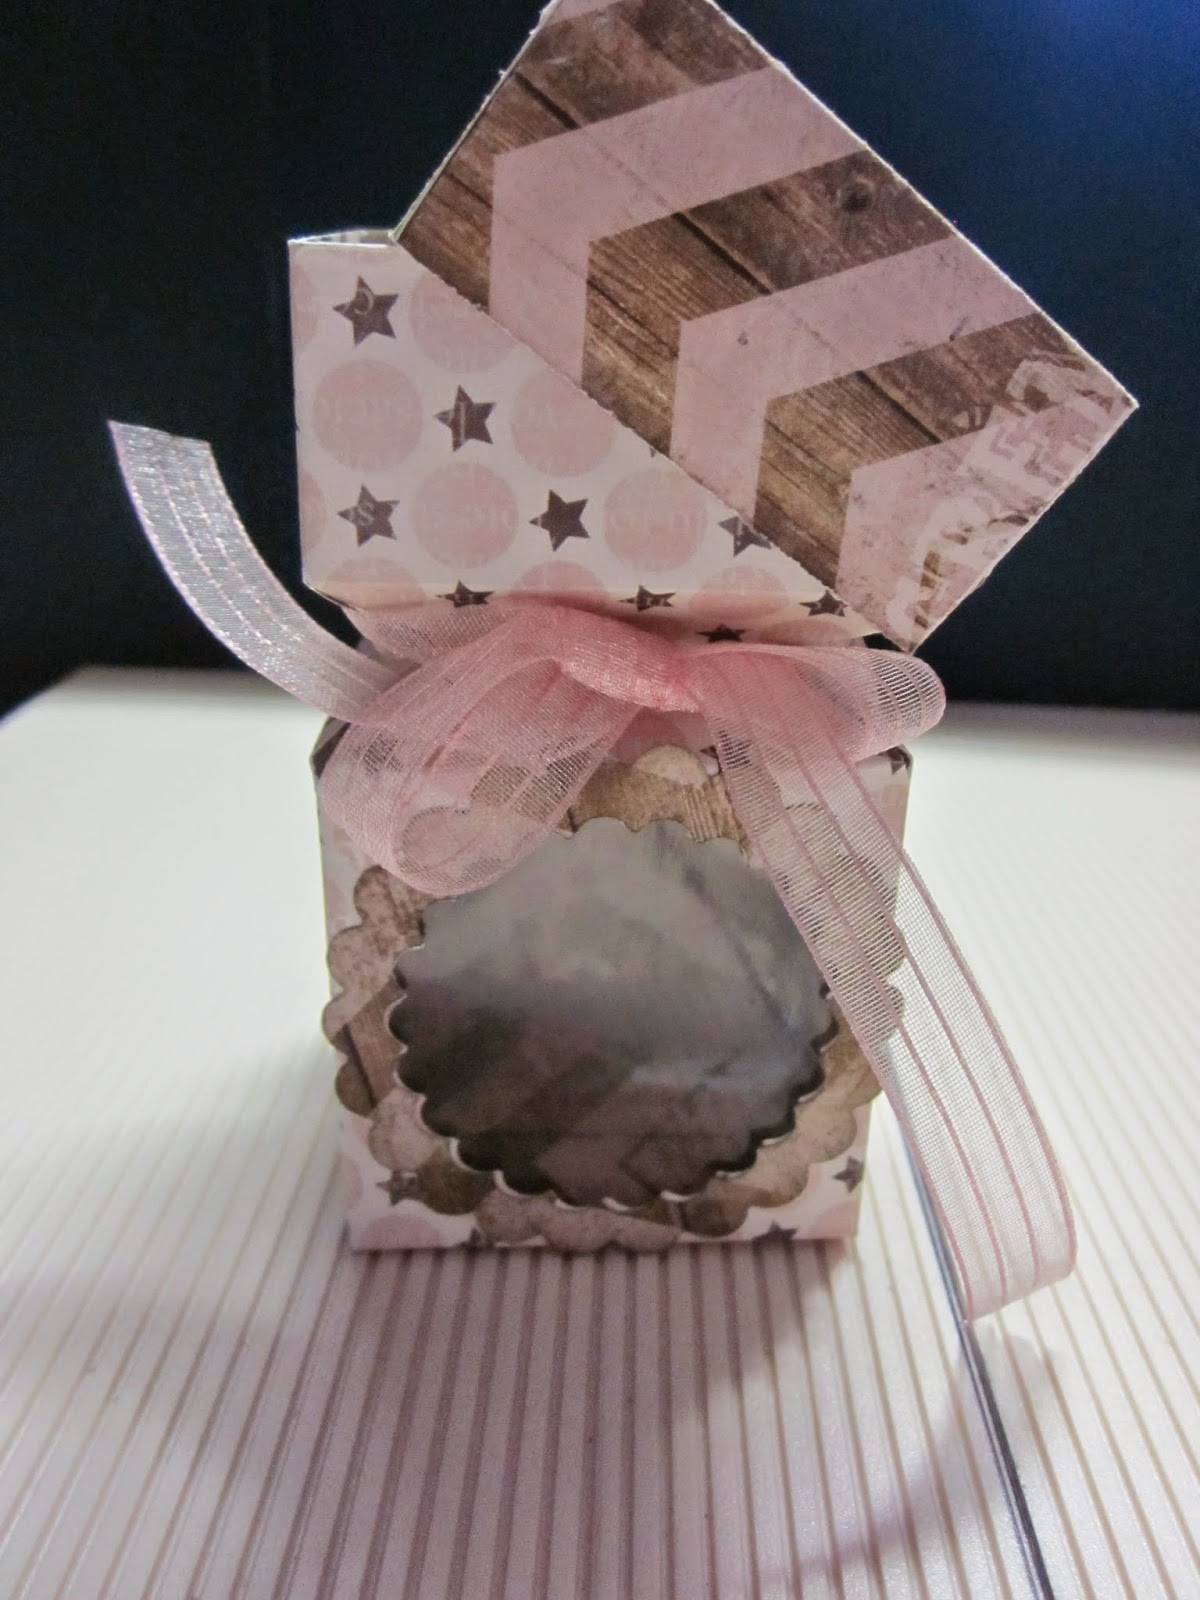
Our last project was a little cracker box made using the WRMK Envelope Punch Board. It also uses the double sided card stock. I saw this on Deb Valder's YouTube channel. Easy to make and glue together. Then make a lid to fit and fill with goodies.

This week I had the opportunity to teach a class at our local scrapbooking store: Urban Paper. Since I was on the trend of using the double sided paper, that was the theme of the class also. The same box was made along with the frame card.
Here are all the projects we did in that class. I tried to flip it right side up, but it wouldn't cooperate. So I made the picture bigger so it might help you to see them better. Sorry. There is the frame card, a dahlia fold card, a chevron fold card and our little box.

Here is the frame card made with the card stock chosen for this project. In the middle instead of a button is a die cut from a Spellbinders die set.


This is the dahlia style folded card. There are a couple ways to fold these,but went with the most simple. The trim at the bottom is done with Martha Stewart Deco Fan edge punch.

Last we have the chevron fold card. This has been done on YouTube videos a few times. It really shows off the sides of the card stock. The little clip on the side I found at the dollar store.

This is the card I sent for Mother's Day . The doily and inset are Spellbinders Vintage Doily dies and the butterflies are MS Monarch butterflies. The edge is just using a white gel pen to make stitches.


 Hope you found something new to try or maybe revisit and use your own ideas. Thanks for looking. Have a wonderful weekend.
Blessings,
MEg :)